How do I make a mid-century modern lamp shade? Mid-century modern design is undeniably appealing. Its clean lines, organic curves, and functional elegance have stood the test of time, making it a favourite in contemporary homes. A DIY mid-century lampshade captures the same balance of simplicity and sophistication as the famous Stiffel candlestick lamps, which blend brass craftsmanship with minimalist shapes.
This project is more than just a way to light up a room, it’s a way to add the nostalgic charm of brass candlestick lamps or the earthy textures of terracotta table lamps to your home. You can make your shade to match the style of your space, whether you’re restoring a thrift store find or starting from scratch. This way, you can get the classic look of vintage candlestick lamps while making them fit your space. And just like taking care of brass to keep it shiny (as explained in this guide), your creation will need careful material choices and precision. Each step will be a meditation on form, function, and the art of making light by hand. Let’s start this trip into the light.
Step 1: Learn the rules for designing mid-century modern lampshades.
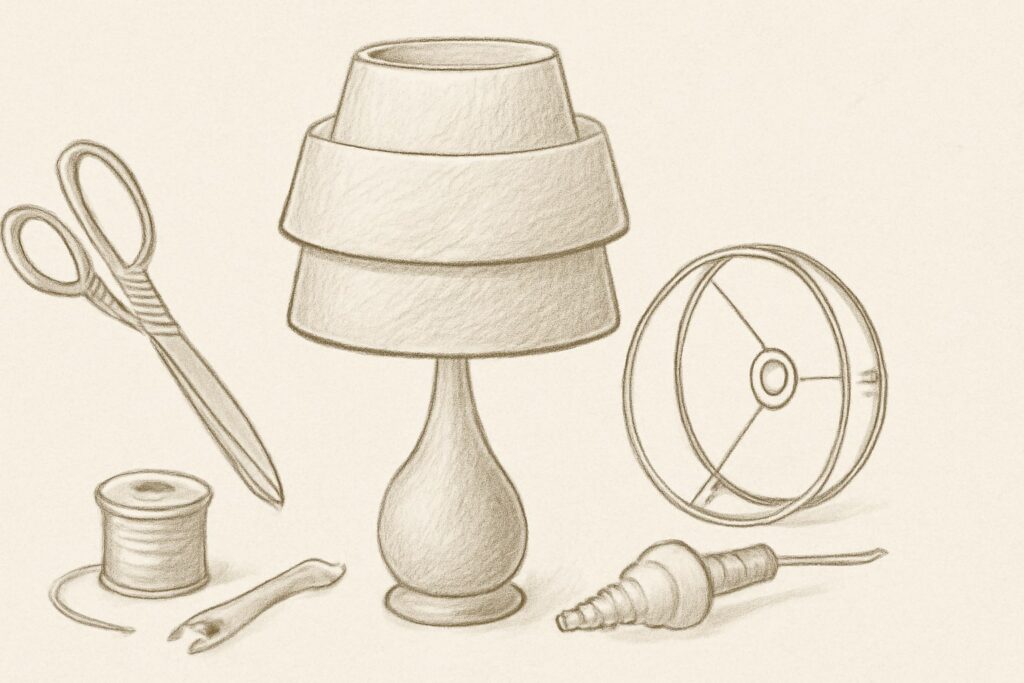
Before you start building, you need to know what makes a lampshade truly mid-century modern. During this time, the design philosophy focused on clean lines, geometric shapes, and beauty that served a purpose. Mid-century modern lamps typically featured tiered fibreglass shades that resembled “birthday cake” lampshades due to their layered construction. These shades often had tapered shapes and smooth surfaces and sometimes had corded whipstitch decorations around the edge.
The authentic mid-century style also used materials like fibreglass, which spread light well while keeping the structure strong. Many original designs from this time used bright colours, marbled finishes, or subtle textures to add interest without making the whole thing too busy. These basic parts will help you choose the right materials and make the right construction decisions for the entire project.
When you plan your mid-century modern table lamps or floor lamp project, think about how the shades’ sizes relate to each other. Real designs often had different scales, with bigger base parts holding up more delicate shade parts. The way these proportions worked together created the unique shapes that defined the lighting style of the time.
Shopping List for Planning Designs on Amazon:
– Books on Mid-Century Modern Design
– Samples of colours and materials
– Notebooks for sketching designs
– Tools for measuring and rulers
Step 2: Picking a Way to Build Your Lampshade
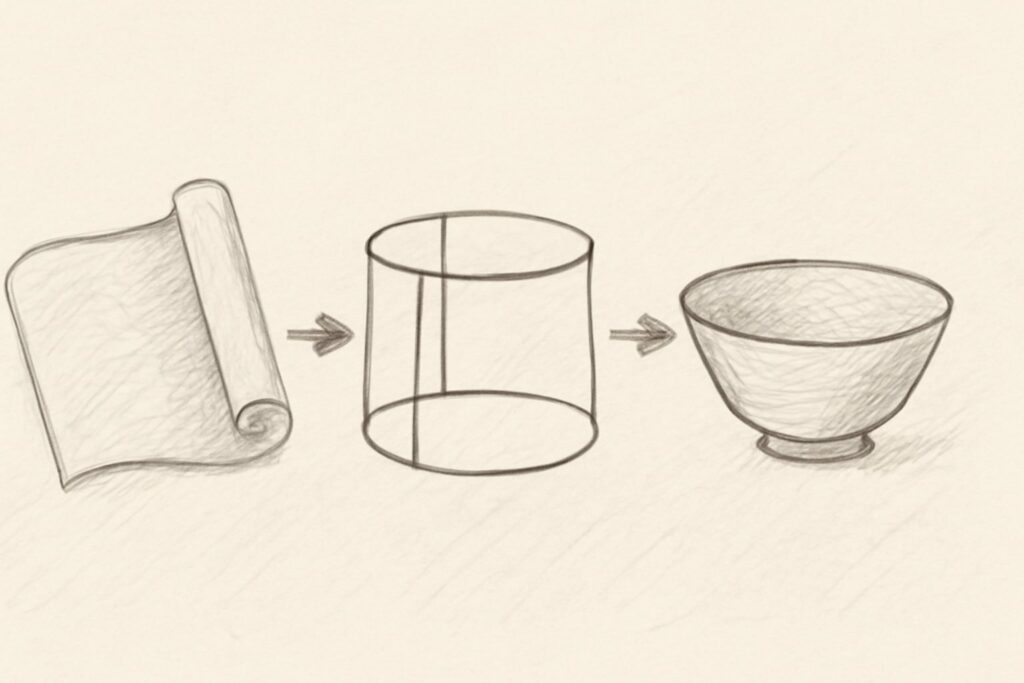
One of the best things about making mid-century modern lampshades is that there are so many different ways to do it. You can choose from a number of tried-and-true methods based on your skill level, the tools you have, and the results you want. The bowl method, which has become popular in recent DIY communities, is a good way for beginners to get started. By carefully drilling and putting together, this method turns regular bowls into high-tech shade components.
The fibreglass method is the best way to get results that are more like the original mid-century designs. Fibreglass is very see-through and can be shaped into the tiered shapes that were popular at the time. The material is easy to work with, so it’s suitable for both beginners and experts. However, you should take specific safety steps when handling it.
Fabric-based methods are another great choice, especially for people who want to use old fabrics or make their own patterns. This method works best for drum-style shades and can include pleating techniques that add texture while keeping the clean lines that are typical of mid-century design.
Comparison Table: Construction Methods
| Method | Skill Level | Cost | Authenticity | Durability |
|---|---|---|---|---|
| Bowl Assembly | Beginner | Low | Medium | High |
| Fiberglass | Intermediate | Medium | High | Very High |
| Fabric/Pleated | Beginner-Intermediate | Low-Medium | Medium | Medium |
Amazon Shopping List for Choosing a Method:
– Basic Tool Kits
– Gear for safety (gloves, goggles)
– Samples of materials
– Supplies for planning a project
Step 3: Getting your safety gear and work area ready
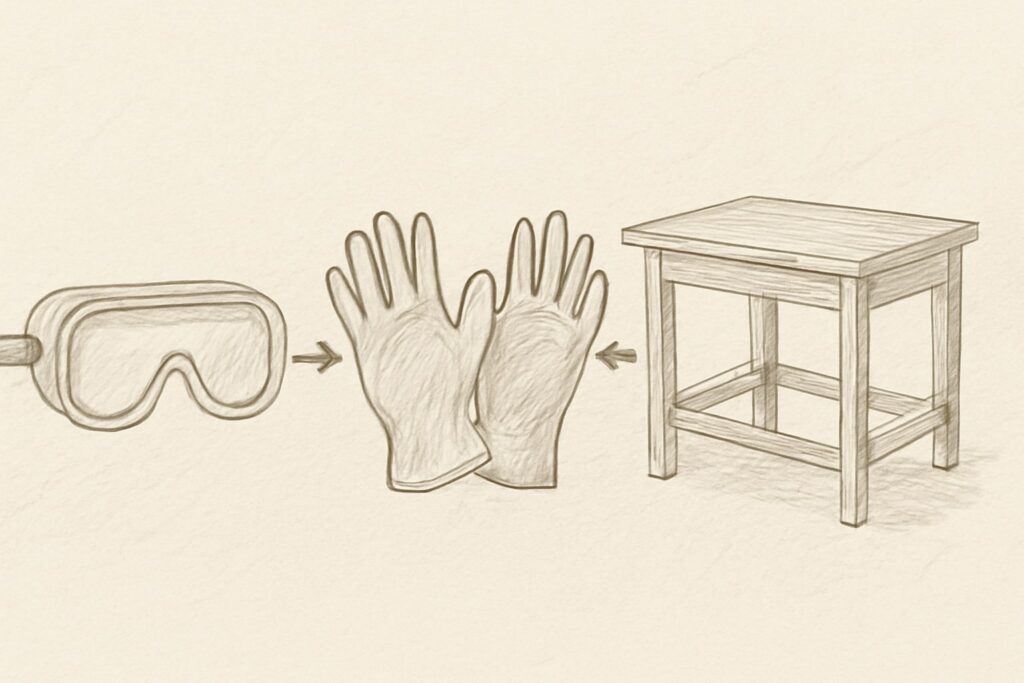
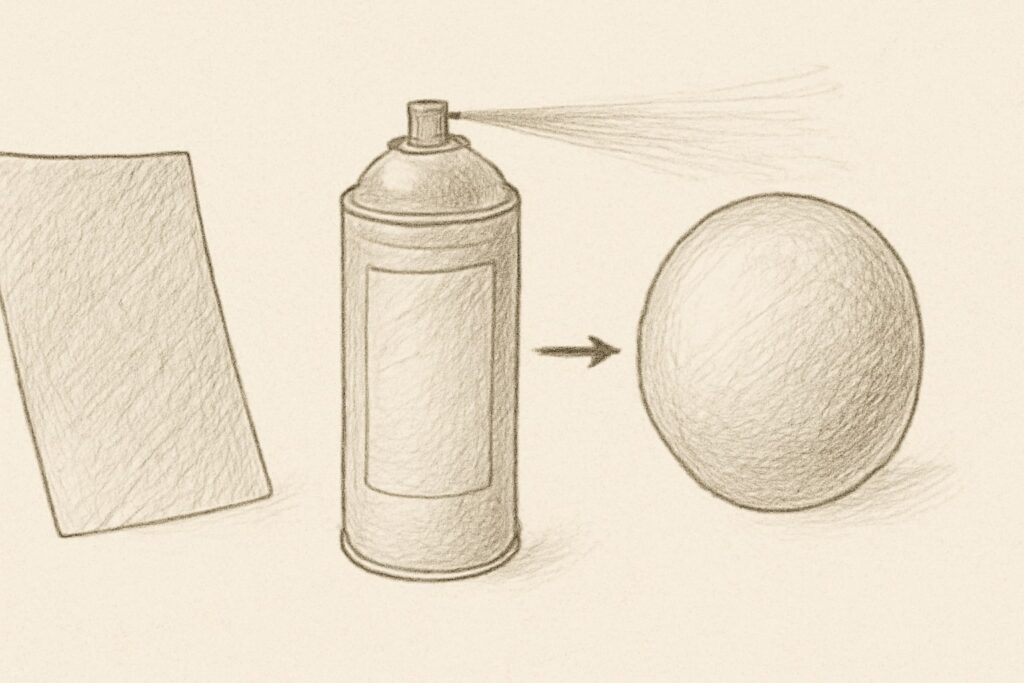
To make mid-century modern table lamp shades, you need a clean and safe workspace that is also efficient. If you’re drilling ceramic bowls or working with fibreglass, getting ready the right way will help you avoid accidents and get professional results. Suppose you’re going to be using spray paints, adhesives, or fibreglass resins. In that case, start by setting up a separate work area with good airflow.
The most essential part of any successful DIY lighting project is safety gear. When drilling ceramic or metal parts, safety glasses keep debris from flying around, and work gloves give you a better grip and keep you from cutting yourself. When working with fibreglass, it is essential to protect your lungs because the material releases tiny particles when you cut or sand it. Also, you should wear dust masks whenever you cut or sand something.
When you build, systematically organizing your tools saves time and keeps you from getting frustrated. Make separate areas for cutting, drilling, putting things together, and finishing. This organization is essential when designing multi-component pieces, like mid-century modern lamps, where the final look depends on how well the parts work together.
Important Safety Checklist:
– Glasses or goggles for safety
– Work gloves that won’t cut you
– Masks for dust or breathing
– Things you need for first aid
– Fire extinguisher for working with electricity
– Enough light and air
Amazon Shopping List for Setting Up Your Workspace:
– Workbench that can be moved
– Ways to Store Tools
– Package of Safety Gear
– Fans for ventilation
– Drop cloths and other protective coverings
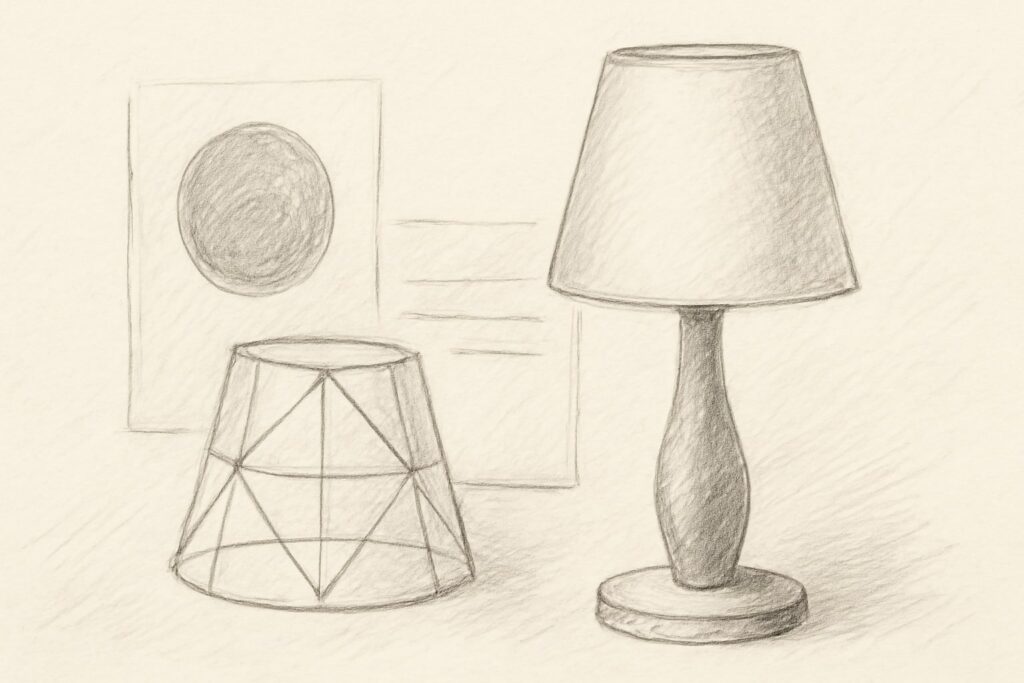
Step 4: The Bowl Method: Making Geometric Perfection
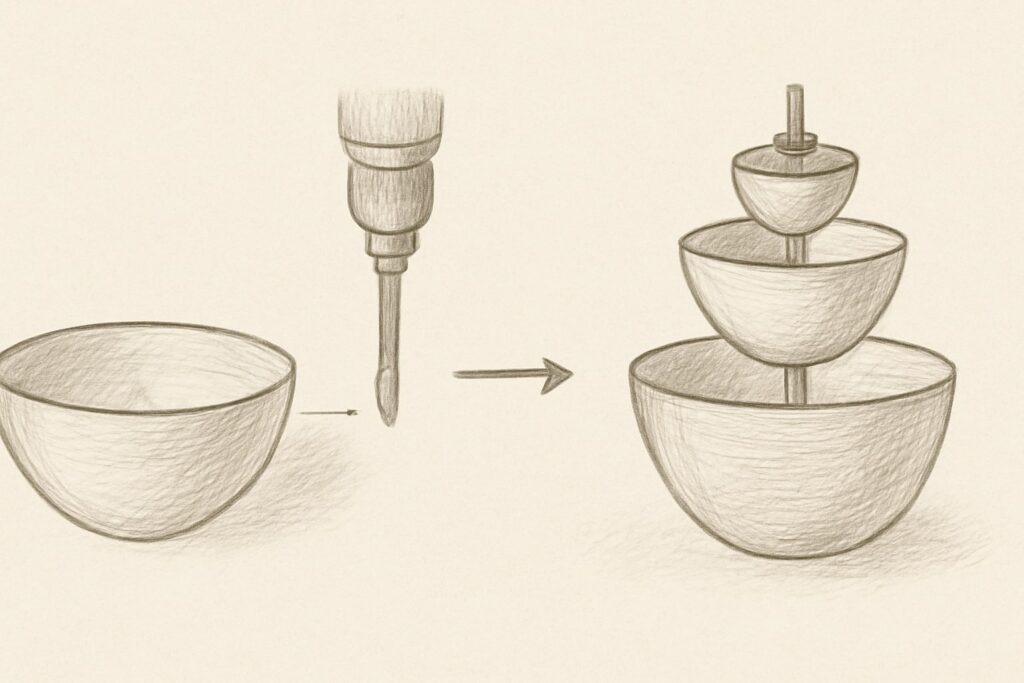
The bowl method is the easiest way to make mid-century modern floor lamp shades that look real. This method turns regular bowls into high-tech lighting parts by drilling and putting them together in a smart way. Start by choosing bowls with clean, geometric shapes that go well with mid-century design. Bowls made of stainless steel, ceramic, or aluminium work best because they are strong and reflect light.
To get professional results when drilling precise holes, you need the right tools and methods. A step drill bit, which is made for working with metal, makes clean holes without cracking or changing the shape of the bowl material. Use a centre punch to carefully mark the centre point so that the drill bit doesn’t move around on the smooth surface. Use cutting oil while drilling to keep the heat down and make the drill bit last longer.
When putting the bowls together, you need to pay attention to how they relate to each other in terms of size. Three-tier designs were standard in mid-century styles. The largest bowl was at the bottom, the medium bowl was in the middle, and the smallest bowl was at the top. The graduated sizing gives the “birthday cake” shape that was popular in lighting design at the time. Put the hardware for your lamp through the holes you drilled, and use the proper washers and nuts to hold each piece in place.
How to Put Together a Bowl Step by Step:
1. Choose three sizes of graduated bowls.
2. Mark the centre points exactly
3. Use a centre punch to make pilot holes.
4. For clean holes, use step drill bits.
5. Check that all hardware parts fit together
6. Put on the finish before putting it all together.
Amazon Shopping List for the Bowl Method:
– Sets of graduated metal bowls
– Sets of Step Drill Bits
– Tools for Center Punching
– Oil for cutting
– Paint and primer for metal
– Kits for lamp hardware
Step 5: Learn how to use fiberglass
Using fibreglass to build things is the most authentic way to recreate the look of old mid-century modern lamps. This material has the same see-through and structural qualities that made mid-century shades so unique. It takes time and skill to work with fibreglass, but the results are very similar to those of expensive vintage pieces.
Get or make the proper forms for shaping fibreglass before you start your project. A lot of crafters use old shade frames or make their own forms out of wire or metal rings. Fiberglass comes in different weights and weaves. For lampshade uses, lighter weights work better because they let more light through. Laminated shoji screen paper is an excellent base for fibreglass because it makes smooth surfaces that spread light beautifully.
When putting together multi-tier fibreglass shades, you need to pay close attention to where the seams go and how the materials are oriented. When professionals put things together, they start by using reference points on the frame to make sure everything stays aligned throughout the process. Lacing techniques, which often use cords of different colours, both hold the material in place and add decorative touches that make it look more like it did in the mid-20th century.
Tips for Working with Fiberglass:
– Always work in places with good airflow
– Wear the proper breathing protection
– Check the material’s translucency before cutting
– Plan where the seams will go to make the best look
– Give each step enough time to cure
List of things to buy on Amazon for the fibreglass method:
– Cloth and resin for fibreglass
– Wire for the shade frame
– Laminated Shoji Paper
– Gear for protection
– Cord for lacing
– Materials for making forms
Step 6: Use fabric and pleating techniques to get a real texture.
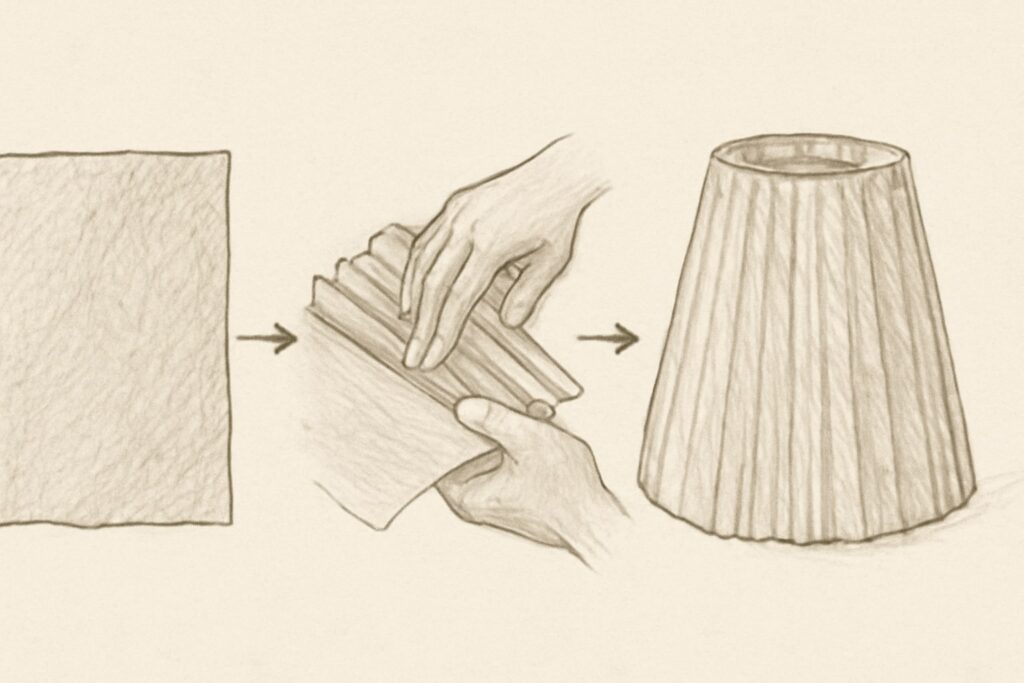
Fabric-based mid-century modern table lamps let you use real vintage fabrics or make your own patterns that perfectly fit your home’s style. When done right, the pleating technique adds a sophisticated texture while keeping the clean lines that are typical of mid-century design. This method works best for drum-style shades and can use fabrics of different weights and textures.
To choose the right fabrics, you need to know how different materials affect how light passes through and how strong they need to be. Linen and cotton blends work great for pleated applications because they are opaque enough for comfortable lighting and keep the crisp fold lines that are important for a professional look. Using vintage fabrics, especially those that were made for mid-century homes, can give your finished lampshade a real period look.
You need to be very careful and patient during the pleating process to get the folds to line up and space out evenly. Making a template ensures that the pleat widths are the same all the way around the shade. Professional methods include pre-pressing fold lines and using temporary holding methods during assembly to keep everything in line. The last way to secure something, whether it’s with glue or mechanical fasteners, needs to be stable for a long time and not be seen in the finished piece.
A Quick Look at the Pleating Process:
1. Figure out how much fabric you need and how far apart the pleats should be.
2. 2. Make sure your pleating templates are correct.
3. Pre-press all of the fold lines
4. Use temporary holds to keep pleats in place.
5. Before you attach the shade frame, test-fit it.
6. 6. Use a permanent way to secure it.
How to Make a Fabric Shopping List on Amazon:
– Fabrics in the style of the past
– Templates for Pleating
– Glue for fabric
– Tools for pressing
– Supplies for Shade Frames
– Materials for trimming and finishing
Step 7: Wiring and Safety for DIY Lamps
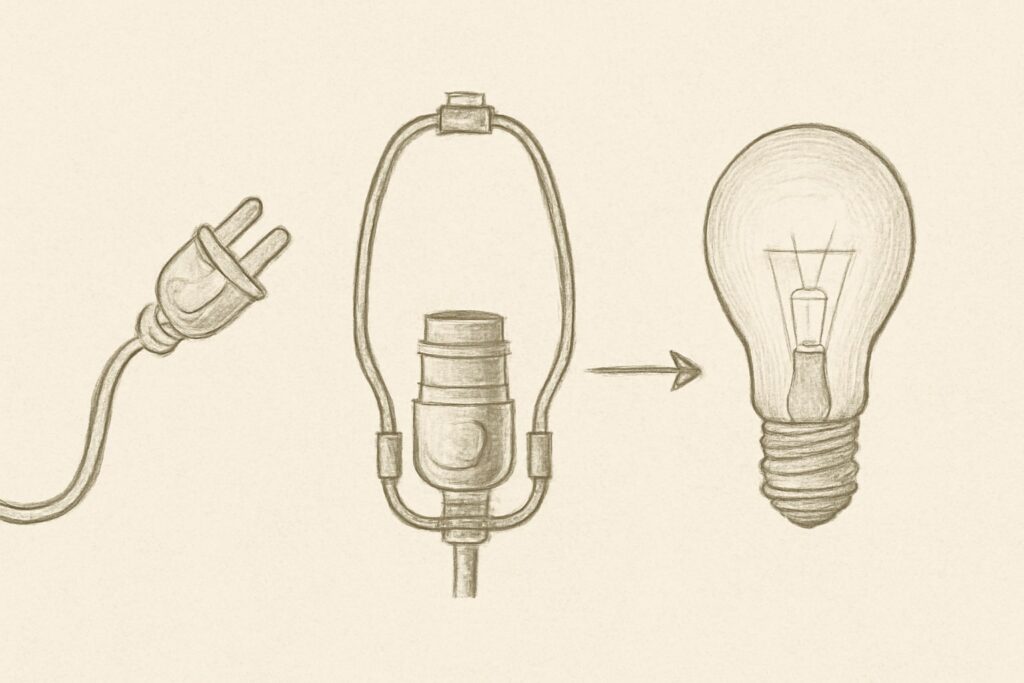
Your finished mid-century modern lamps will be safe and work well if you install the electrical system correctly. Most of the time, the aesthetic parts of a lamp are what people pay the most attention to during construction. However, the electrical system is what makes the lamp work well. Knowing the basics of wiring and safety will keep you and anyone else who uses your custom lighting safe.
The lamp kit parts make it easier to wire things up by providing standard connections. These kits usually come with pre-cut wire, the right connectors, and mounting hardware made just for making lamps yourself. Following the manufacturer’s instructions will ensure that the connections are correct and that electrical safety standards are met. To avoid overheating, always make sure that the wire gauge matches the wattage of the bulb you want to use.
LED bulbs that work with other types of bulbs have many benefits for DIY lighting projects. These bulbs don’t get very hot, which lowers the risk of fire and makes fabric and other heat-sensitive shade materials last longer. LED bulbs also use less energy and last longer than regular incandescent bulbs. To get the right mood for your **mid-century modern table lamp** application, you should think about both the colour temperature and the amount of light the LED bulbs give off.
Safety Checklist for Electricity:
– Check all connections before you test
– Use the correct wire gauges for the wattage of the bulb
– Put in the proper strain relief where the cords go in
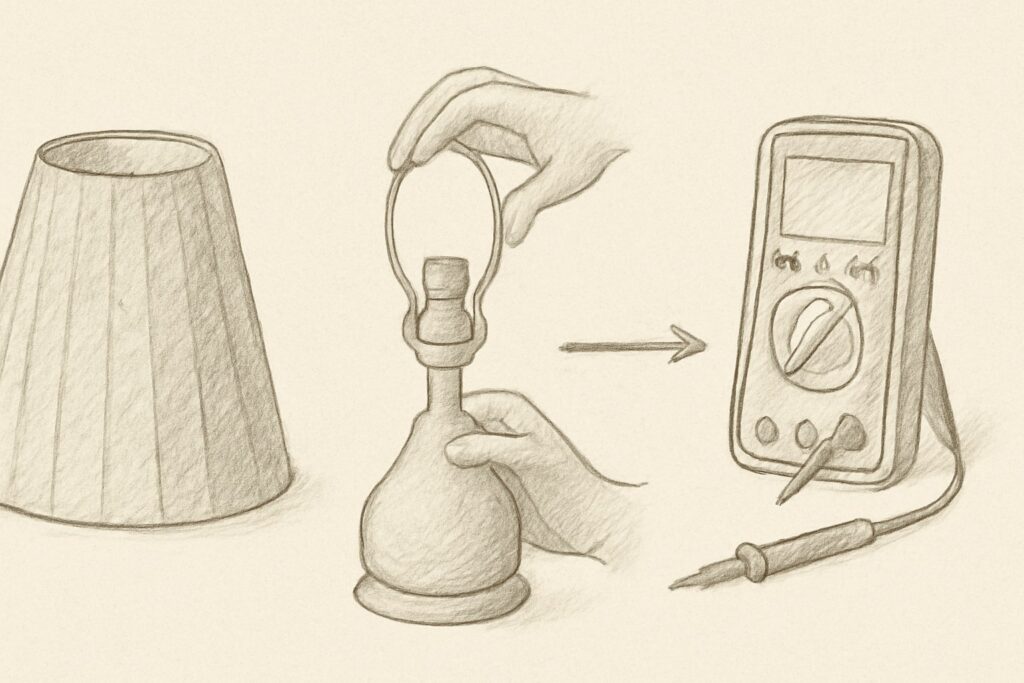
– Test with a multimeter before putting it all together.
– Think about GFCI protection for damp places
List of electrical parts to buy on Amazon:
– Full Lamp Wiring Kits
– Choosing LED Bulbs
– Connectors and wire strippers
– Tools for testing electricity
– Parts for strain relief
– Options for Switches and Dimmers
Step 8: Surface Treatments and Finishing Techniques
The finishing phase turns functional parts into polished pieces that look like professional designs for a mid-century modern floor lamp. Surface preparation is the first step in getting a good finish. To get long-lasting results, you need to clean the surface well and use the proper primer. Different materials require different ways to get ready. For example, metal surfaces need to be degreased and lightly abraded. In contrast, fabric parts need to be cleaned carefully and stabilized.
The paint you choose will have a significant effect on how your lampshade looks and how long it lasts. Warm brass tones, copper accents, and bright primary colours that were popular in the middle of the century are all colours that are appropriate for the time. Modern paint formulations are more durable and hold colour better than original finishes while still looking like the original. Spraying is usually the best way to get a smooth finish on curved surfaces, which is common in mid-century modern lamp construction.
Protective treatments make your custom lampshade last longer and look good. Clear protective coatings keep painted surfaces from getting worn down and damaged by UV rays. This is especially important for items that are often handled or exposed to bright light. Treatments that make shades stain-resistant help keep them looking good and make cleaning them easier in the future.
Steps in the Finishing Process:
1. Cleaning and preparing the entire surface
2. Use the correct primer for the type of material
3. Give each coat enough time to cure.
4. Put on the base colour in thin, even layers.
5. For durability, add a protective topcoat.
6. Check for and fix any flaws
List of things to buy on Amazon for finishing:
– Systems for spray paint
– Products for Primer and Topcoat
– Supplies for preparing the surface
– Gear for protection
– Tools for Matching Colors
– Add-ons for applications
Step 9: Putting things together and testing for quality
Final assembly puts all the parts together to make a mid-century modern table lamp design that works well and is safe. This important step needs to be done in a systematic way to ensure everything fits, is safe for electricity, and looks good. Before making permanent connections or using adhesives, carefully test-fit all of the parts to ensure they fit together correctly. This first step finds possible problems while fixes are still easy and cheap.
Electrical testing is an integral part of quality control because it makes sure the lamp works safely before it is used regularly. Use the proper testing tools to make sure that the wiring connections are correct, that the ground is continuous, and that the insulation is strong. Check all of the switch’s functions and, if necessary, the dimmer’s. Write down any problems and fix them before you finish putting it together.
Aesthetic evaluation ensures that your finished piece meets the design standards you set when planning. Look at how the proportions of your design compare to the original idea and real mid-century examples. Make sure that the finish is always the same, that the parts are lined up correctly, and that any moving parts work smoothly. This last step of the inspection process often shows small changes that make your finished project look much more professional.
Quality Control List:
– Check all electrical connections and safety
– Check the fit and alignment of the parts
– Check the quality and consistency of the finish
– Make sure that the operation and mounting are stable
– Write down any warranty or maintenance needs
Amazon Shopping List for Putting Together:
– Hardware and fasteners for assembly
– Tools for testing electricity
– Tools for measuring and aligning
– Supplies for touch-ups
– Materials for documentation
– Packaging that protects
Step 10: Long-Term Care and Maintenance
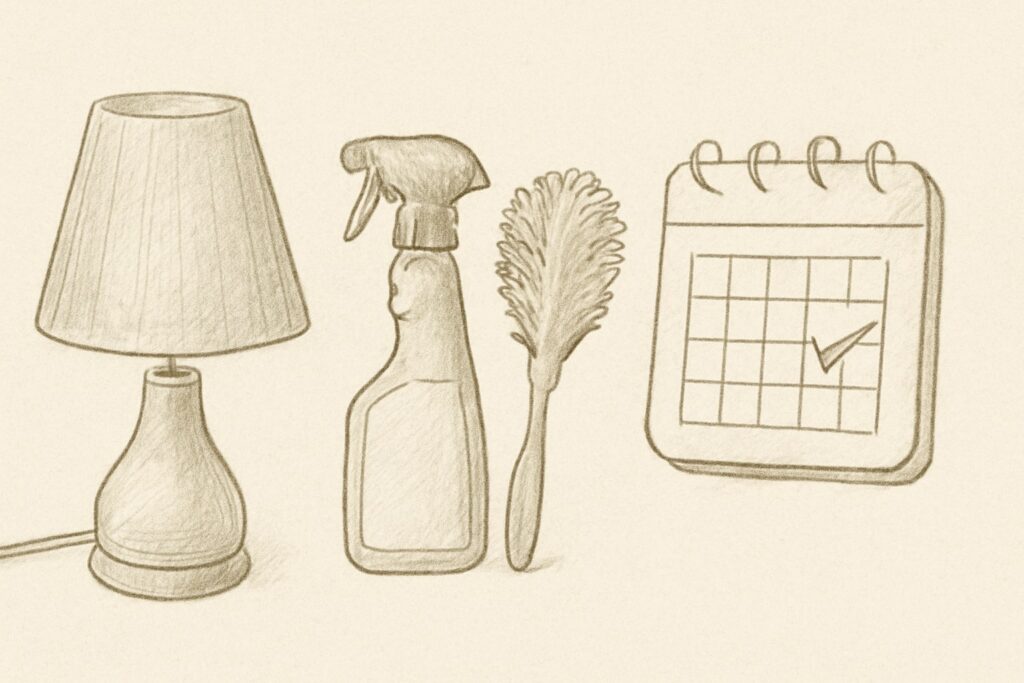
If you take care of your custom mid-century modern lamps, they will keep working well and looking good for years to come. By setting up regular maintenance schedules, you can prevent small problems from becoming big ones and protect the money and time you’ve already spent on materials. Different types of shade materials need different kinds of care. For example, fabric shades need to be cleaned gently, while metal parts need to be protected every so often.
The way you clean something depends a lot on how it was made and what materials were used. Most of the time, you can get rid of dirt on fabric shades by gently vacuuming them with soft brush attachments. However, if the dirt is nasty, you might need to hire a professional cleaning service to avoid damaging the shades. Fibreglass and metal shades usually do well with mild detergent solutions applied with soft cloths, followed by thorough drying to keep water spots or rust from forming.
When it comes to electrical component maintenance, the main things to look at are the integrity of the connections and the condition of the wires. Check all the wiring you can see from time to time for signs of wear, heat damage, or loose connections. To keep the machine running safely, replace any parts that are not working right away. Have extra light bulbs and basic electrical supplies on hand so you can fix things quickly when they break.
Schedule for Maintenance:
– Once a week: Clean up the dust and check everything
– Monthly: thorough cleaning and checking of the electrical system
– Every three months, a full safety check
– Once a year, a professional electrical evaluation, if needed
Amazon Shopping List for Upkeep:
– Cleaning Supplies for Specific Uses
– Electrical parts that need to be replaced
– Tools and equipment for inspection
– Materials for safe storage
– Supplies for Maintenance Documentation
Frequently Asked Questions
Fiberglass is still the best material choice because it looks and feels like the original designs and lasts a long time. For budget-friendly options, high-quality ceramic or metal bowls can give you great results if you know how to finish them properly.
Study original designs and keep the three-tier “birthday cake” shape with graduated sizes. The most significant part should be at the bottom, and the smaller parts should go up from there to make the unique tapered shape.
When following the instructions that come with commercial lamp kits, basic lamp wiring is usually safe for people who like to do things themselves. But if you need to do complicated electrical work or install something permanently, you should hire a qualified electrician.
LED bulbs are the safest, most efficient, and longest-lasting option. Because they don’t give off a lot of heat, they won’t damage the fabric or other materials that are sensitive to heat, and they give off great light.
You can often find period-appropriate materials at vintage fabric stores, architectural salvage stores, and online marketplaces. For modern options, look for items that have colours and textures that are common in the past.
Getting the same quality of finish and the right proportional relationships are usually the hardest parts. Most common problems can be avoided by taking the time to plan and test-fit.
Of course! You can update many old lamp bases with new shades in the style of the 1950s. Concentrate on choosing shade proportions that go well with the base design while still following real aesthetic rules.
If you use the right materials and build them right, DIY lampshades can last for many years. Compared to mass-produced options, high-quality finishing and proper maintenance can make things last a lot longer.